
Well, it’s over! I have to say I’m relieved, it took way more effort to brew all the beer for my wedding than I expected it would. It was definitely worth it, and I know there are a lot of people out there in the process of planning to do the same thing so here is a post going over everything I experienced and learned while brewing the 11 kegs of beer that I served at my wedding.
How Much Beer Do I Need?
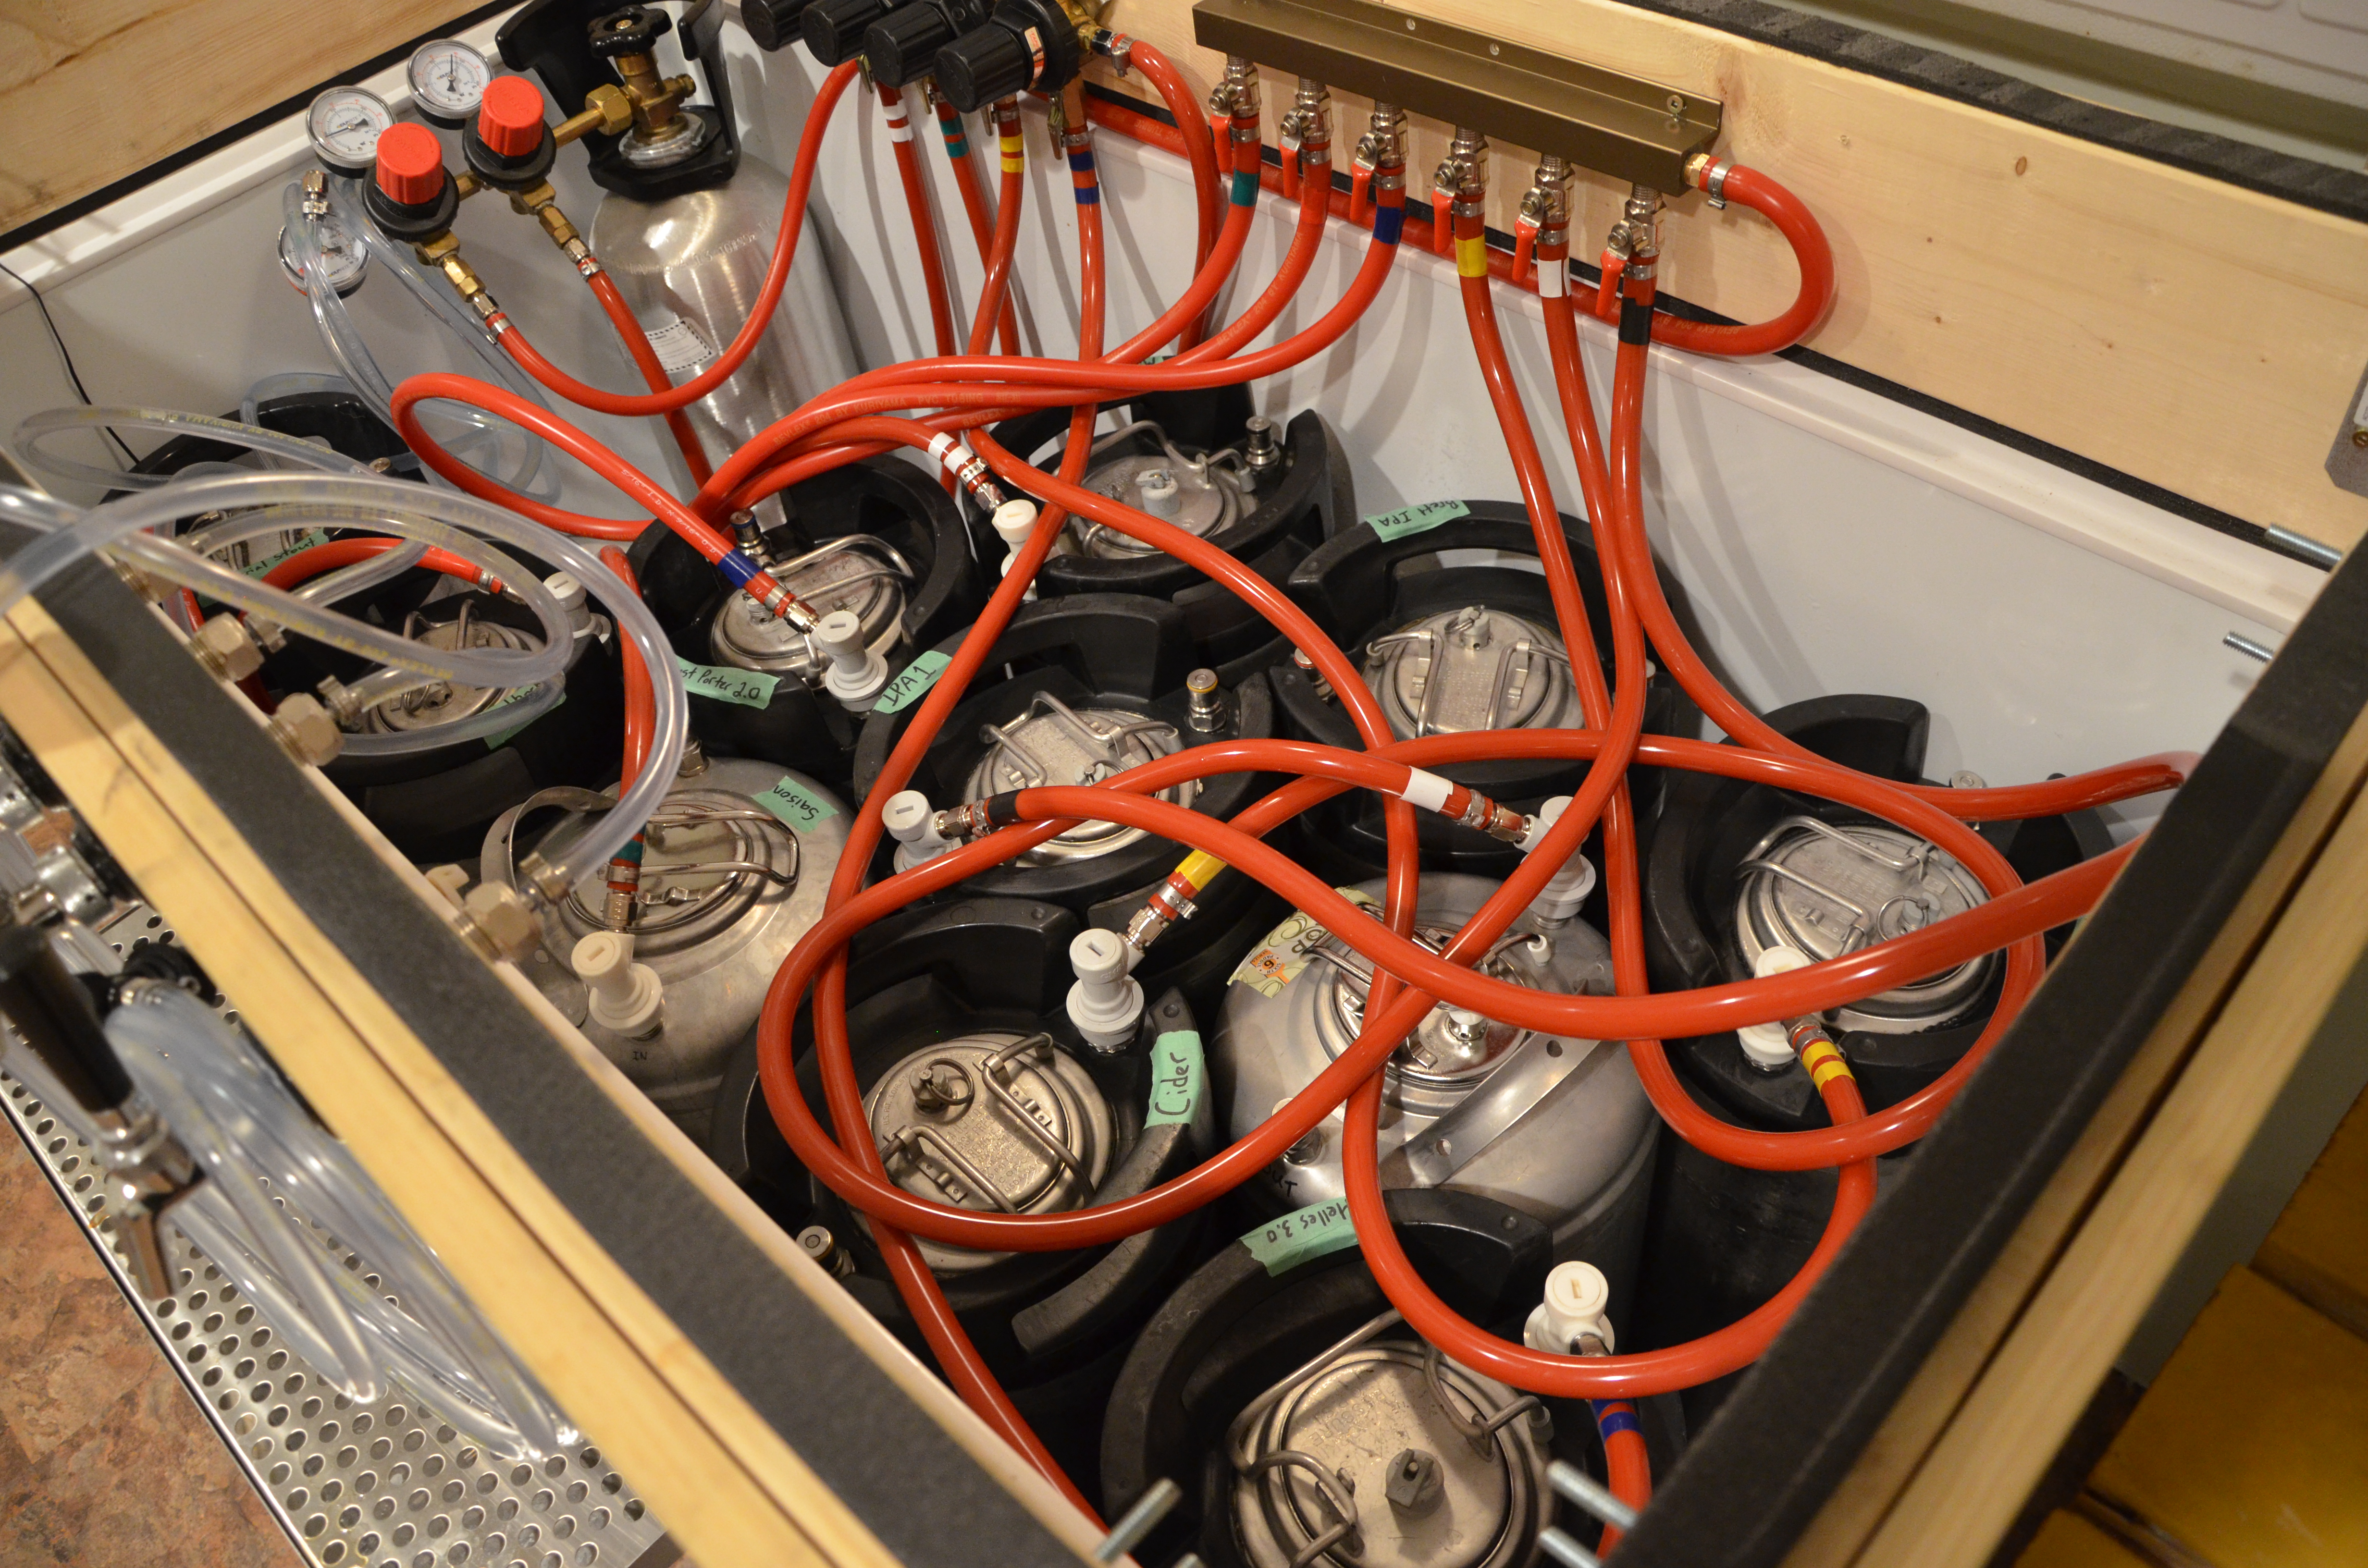
All 11 kegs conditioning in my keezer.
This is the first question people ask, and there isn’t really a correct answer since every crowd is different. The best advice I can give is to brew more than you think you need. My wedding was 107 people (only one child) and I served 10.5 corny kegs (one of them was a 2.5 gallon keg). That works out to roughly 1 corny keg of beer for every 10 people attending. By the end we only had 2 kegs that were more than 2/3 full left. Another 5 or so kegs had about 1/5 left, but were taken off because they got too warm and started foaming out of the taps on the jockey box. You are going to have to make a judgement call based on how much your family and friends drink. I would classify our guests as moderate drinkers, on average. Our friends tended to drink more than grandparents, aunts, and uncles. Some people were driving and only had one or two over the night. If you live in Wisconsin, you’ll probably need double or triple the amount of beer I had. Again, you are going to have to gauge your guests and plan accordingly. I think that 11 kegs was perfect for the crowd I had since in the end every keg got served at one point or another.
Kegs or Bottles?
I can’t imagine brewing for a wedding my size with only bottled beer. The amount of effort (and bottles) that would have been required to bottle 11 batches of beer would have been insane. That’s approximately ~22 cases of clean 12 oz bottles (528 bottles), or approximately ~25 cases of 22 oz bottles (300 bottles). That many bottles would be a challenge to obtain for most homebrewers, and would be a gargantuan task to fill by hand. If kegging isn’t an option you may be able to supply beer for only part of the wedding, say for only during the cocktail hour. If you have a small wedding (under 40 people is my guess) you might be able to manage to bottle enough beer for that. One huge advantage to bottling is that the logistics of serving bottled beer is much simpler than serving kegged beer. You just have to keep the bottles cold, pop the cap, and pour into a glass. For kegs you need some kind of dispensing system, which means either the venue will need to have one or you’ll need to supply one (more on this below). Also you’ll need enough kegs, most homebrewers don’t have 11+ kegs. Picking kegged beer was the best choice for me due to the size of my wedding and the volume of beer I chose to brew.
Kegging Considerations
There are lots of things to consider when arranging to have your beer served in kegs at your wedding. Here is my attempt to address each one.
The first big one is, does the venue already have a draft system? It likely wouldn’t be set up for corny kegs if they do, and they likely aren’t willing to let you cut the tubing and install quick disconnects. In my case the cocktail room downstairs from the reception room had a sanke draft system, so I bought 3 used sanke kegs to be used during cocktail hour. In the end our cocktail hour was moved last minute into the same room as our reception so the sanke kegs didn’t get used. At least I can use them for ageing sours now. The reception room upstairs did not have a draft system, just a bottle fridge. Most weddings in that room got bottled beer only. I decided that a jockey box was the best solution to the problem so I built one.
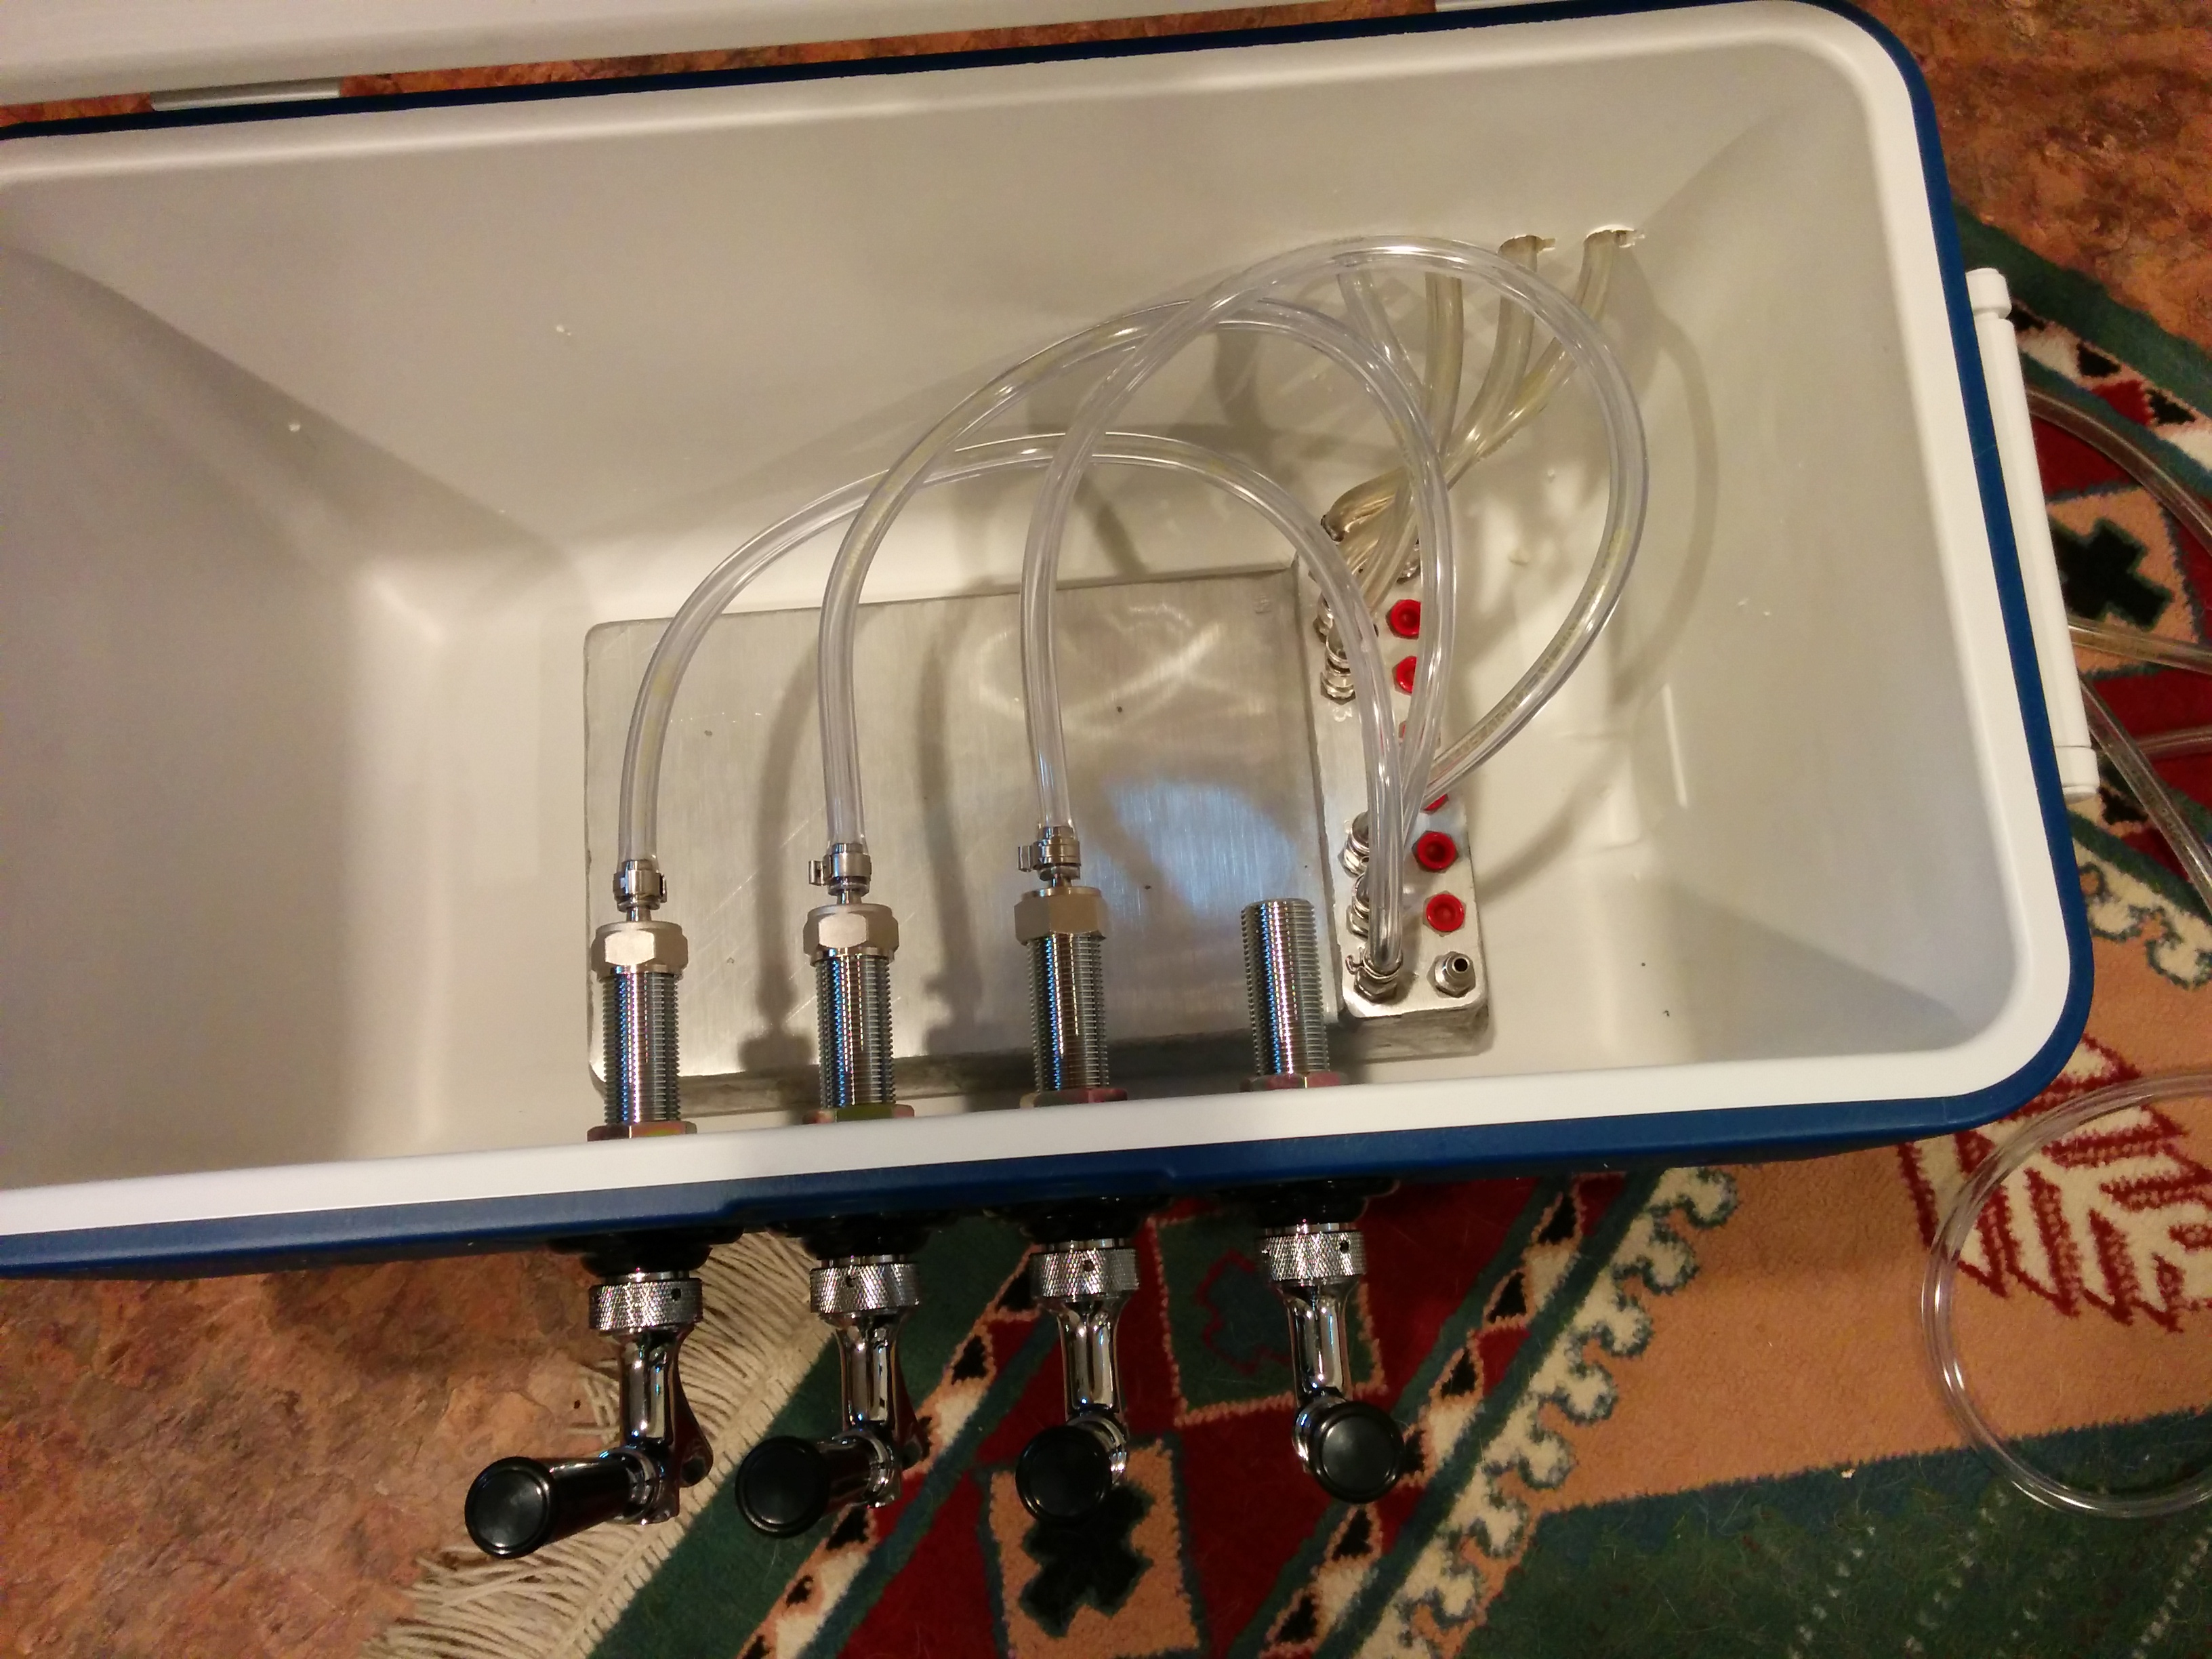
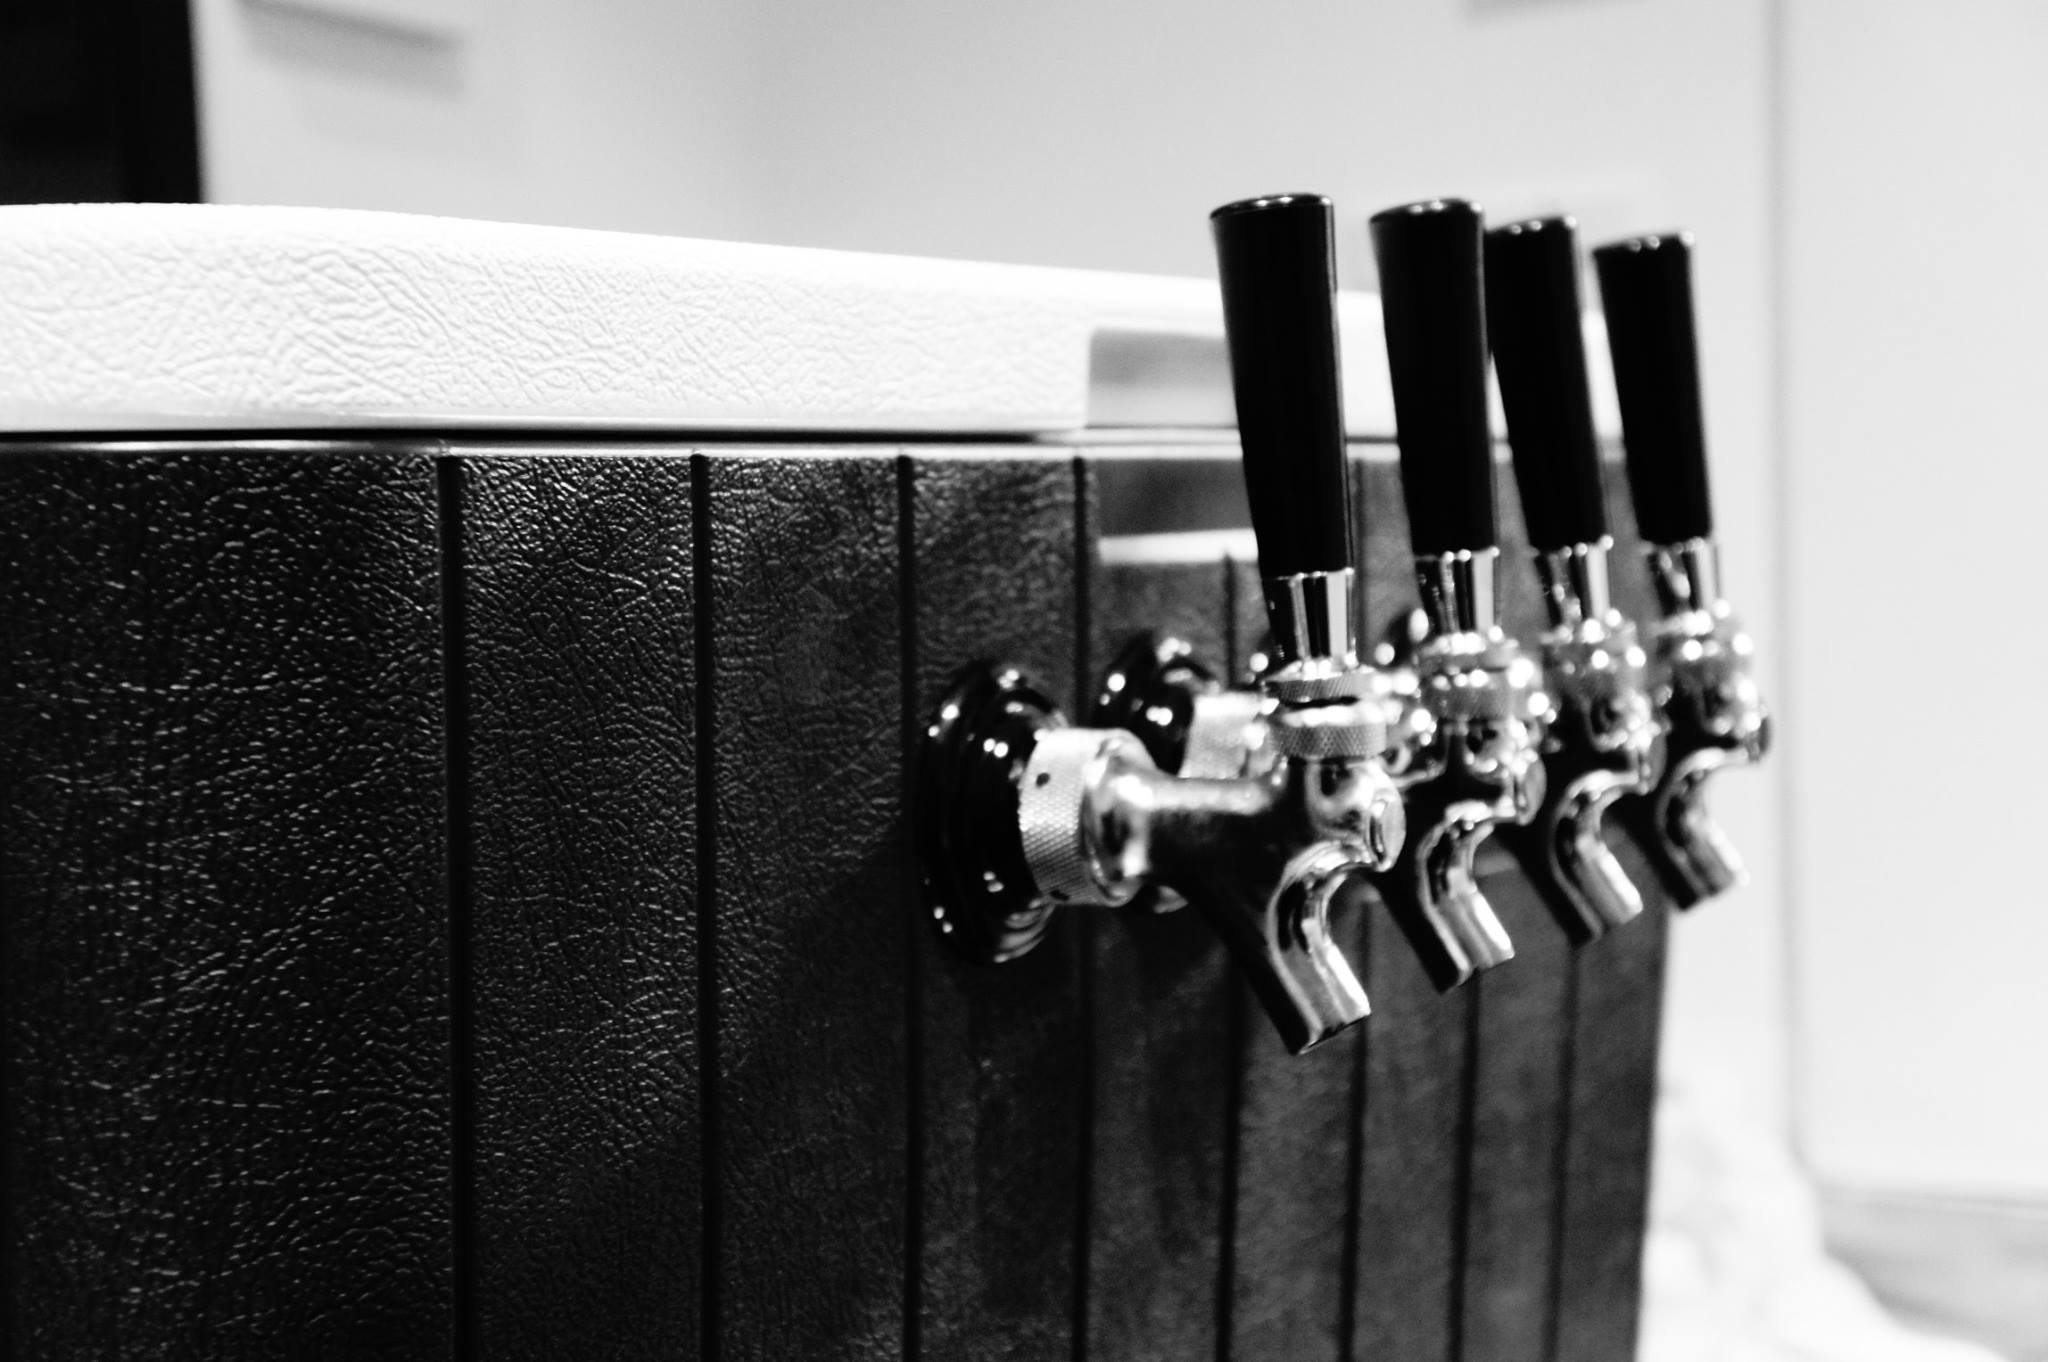
Cold plate jockey box – partially constructed
After deciding to build a jockey box I did some research on how they work and the options available to me. I had decided that I wanted a minimum of 3-4 taps to ensure there was enough variety in tap at once to satisfy the diversity of drinkers at the wedding. I did extensive research between cold plate and steel coil jockey boxes, both types use stainless tubing. In the end I went with a cold plate because I could buy a 7 circuit cold plate for less money than a single stainless coil, which I would need 3-4 of. I also had the option to run 3 of the lines through the cold plate twice before going to the tap, and I may explore that in the future. Using copper coil wasn’t an option for me since it can be toxic when used to serve acidic beverages (soda and fermented beer are acidic). Side note: copper is okay in un-fermented beer since the pH is still above 5, an order of magnitude less acidic than fermented beer.
A major challenge in logistics for serving the corny kegs through the jockey box was keeping the kegs cold enough. I’ve found that after an hour or so after kegs leave a fridge the beer starts to foam in the lines of the jockey box. The venue happened to have a walk in fridge downstairs that was used to store beer so we used that. The jockey box had 4 taps so as each one kicked they brought up a cold keg from the walk in fridge downstairs. We dropped off the kegs the day before the wedding. We could have used ice buckets to keep the kegs cold but the logistics didn’t work out and I couldn’t figure out how to get the second keg into the bucket after the first one kicked and the ice collapsed into where the first keg was.
Another consideration is CO2 for serving the kegs through the jockey box. Luckily I had an old three way manifold from before I upgraded my keezer so I used that in conjunction with a dual output regulator to serve 4 kegs at a time. If you are someone with only a 20 lb tank of CO2 at home, you might want to invest in a 5 lbs tank due to the increased portability.
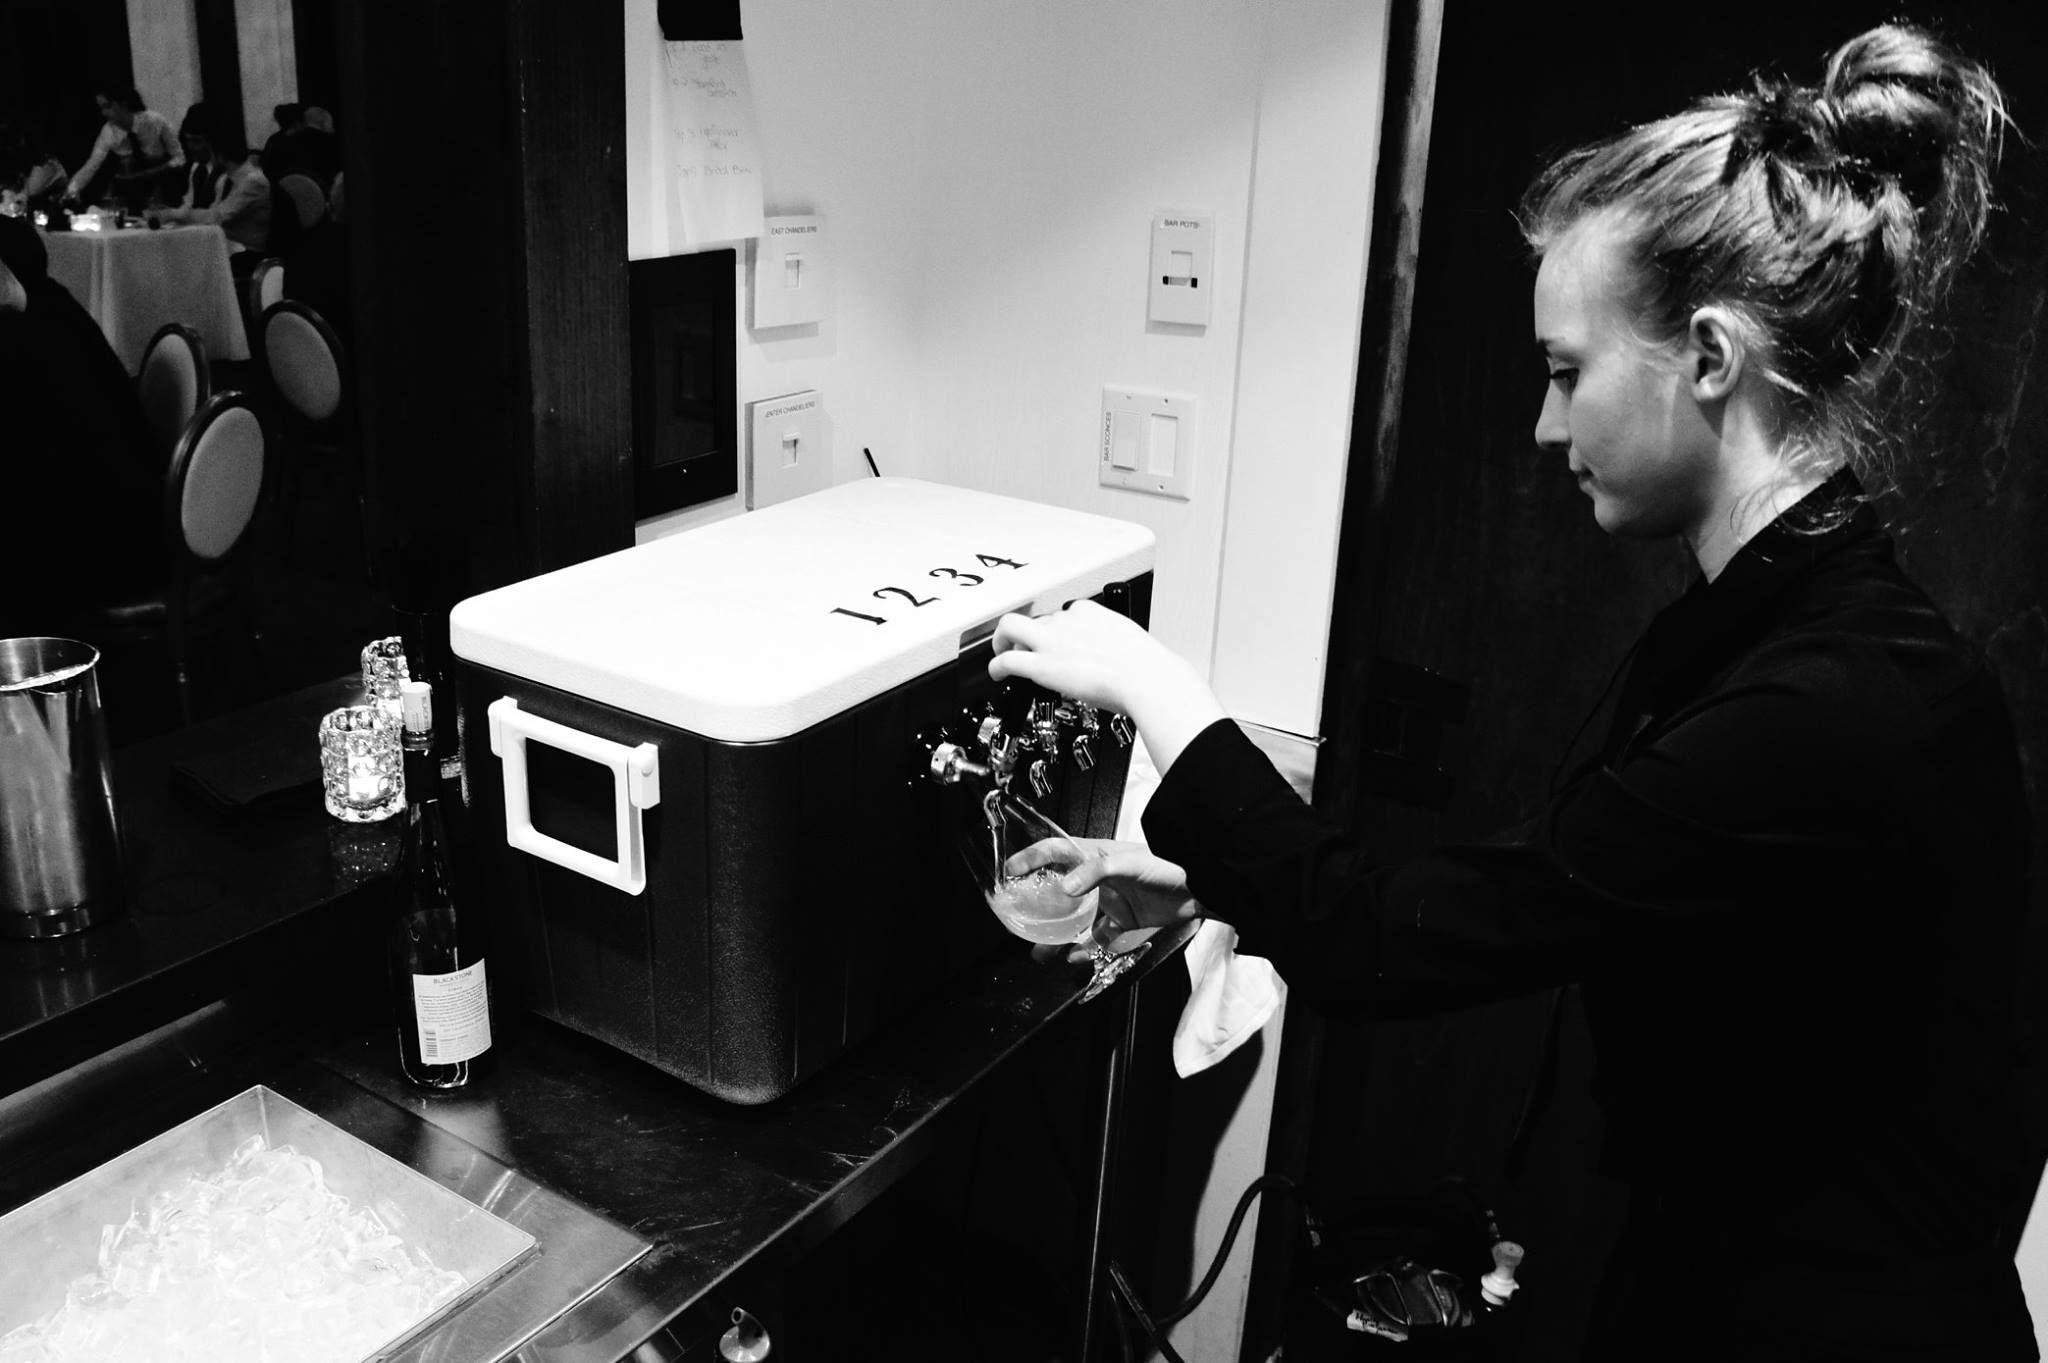
In my case the beer was served by the venue staff, behind the bar, along with the rest of the drinks. The venue wanted all alcohol to be served by their staff (understandably) so that they could monitor sobriety and ensure no one was over served. This meant that I had to train the venue staff on the operation of corny keg disconnects for liquid and gas, and the general operation of the jockey box. Luckily the servers had previous experience pouring beer with a draft system so they knew not to pour beer with the tap half open, to allow proper foam head to form, etc… I just had to explain how the disconnects worked when changing kegs and they were off to the races. One of my homebrew friends had to remind them to turn on CO2 tank when they started pouring since I had turned it off after setting up the night before.
Getting the Permit
My experience getting a homebrew permit is really only applicable to the province of Ontario, Canada. Other provinces and individual states in the USA will have their own rules/laws so be sure to check if it is legal before setting your heart on doing this. However, I will explain my understanding of how it works where I live and the steps I went through to make sure I was in compliance with the law when serving homebrewed beer at my wedding.
It took a while for my fiancée (now wife) and I to find a venue that was willing to let us serve homebrew during our reception. We visited around 5 venues, and only the ones run by Landmark Group (now called Pearle Hospitality) were willing to work with us and figure out how to make it happen. A few of them flat out said no when I asked about serving homebrew, they didn’t want the hassle of having to deal with homebrew and liquor licensing. I’m still certain that Whistle Bear wouldn’t have been so flexible if our wedding hadn’t have been in the dead of winter, when the wedding industry is at its slowest.
It turned out to be reasonably simple and all I needed to do was take out an SOP permit from the AGCO for the duration of the event. Homebrew can only be served under “Private – No Sale” permit so that meant all alcoholic drinks at the event, including the non-homebrew ones, had to be served free of charge. That worked out fine since part of our negotiated deal with the venue was that we pay the same cost as if the venue was providing all the alcohol for an open bar wedding, even though I was providing all the beer. Yes, this technically means we paid for alcohol that was never served but I prefer to think of it as paying a fee to be allowed to serve my beer. I was just glad to have found such a beautiful venue that was willing to work with us.
The AGCO requires that you apply for an SOP at least 10 days in advance of the event so I applied 30 days in advance so that there would be plenty of time for any delays or unexpected roadblocks. I got a call about 10 days later saying that my permit had been approved and was ready to be picked up at the LCBO location I had applied at. Only certain LCBO locations accept SOP applications so be sure to check their website.
Tips for Preparing the Beer

Transferring the beer from the dry hop keg. Same process can be used for carbonated beer, LOW PSI!
Here are a few miscellaneous process and planning tips that I think would be useful in making your homebrew wedding a success:
- Once you have given the keg time to carbonate and condition, transfer it into a new keg (purged and sanitized) to ensure that none of the sediment gets stirred up in transport to the venue, or when the venue staff move the kegs. Be sure to transfer as slow as possible to avoid foaming (2-3 PSI max).
- Brew more batches than you plan to serve to ensure only the best beer makes it to the wedding. I brewed 15 beers for the wedding and picked the best 11 to ensure a higher average quality.
- Make a brewing schedule to ensure each beer is as close to peak flavour as possible on your wedding day. I brewed my high OG and lager beers first, then other ales, then hoppy beers, and then last was my weizen.
- Make sure the venue serves the beer in decent glassware. My venue already had some nice tulips that they used for serving water so I just asked they use those for beer as well.
- Plan out your equipment needs ahead of time. If you plan out how many kegs and fermentors you need many months in advance you can watch for sales or bulk buys.
- Make sure you have enough bandwidth in your temperature control for that many batches. Each of my two chambers were working overtime for two and a half months. Most batches only got a week or so in the chamber (except lagers) before being removed to finish off in the ambient environment.
What Styles Should I Brew?
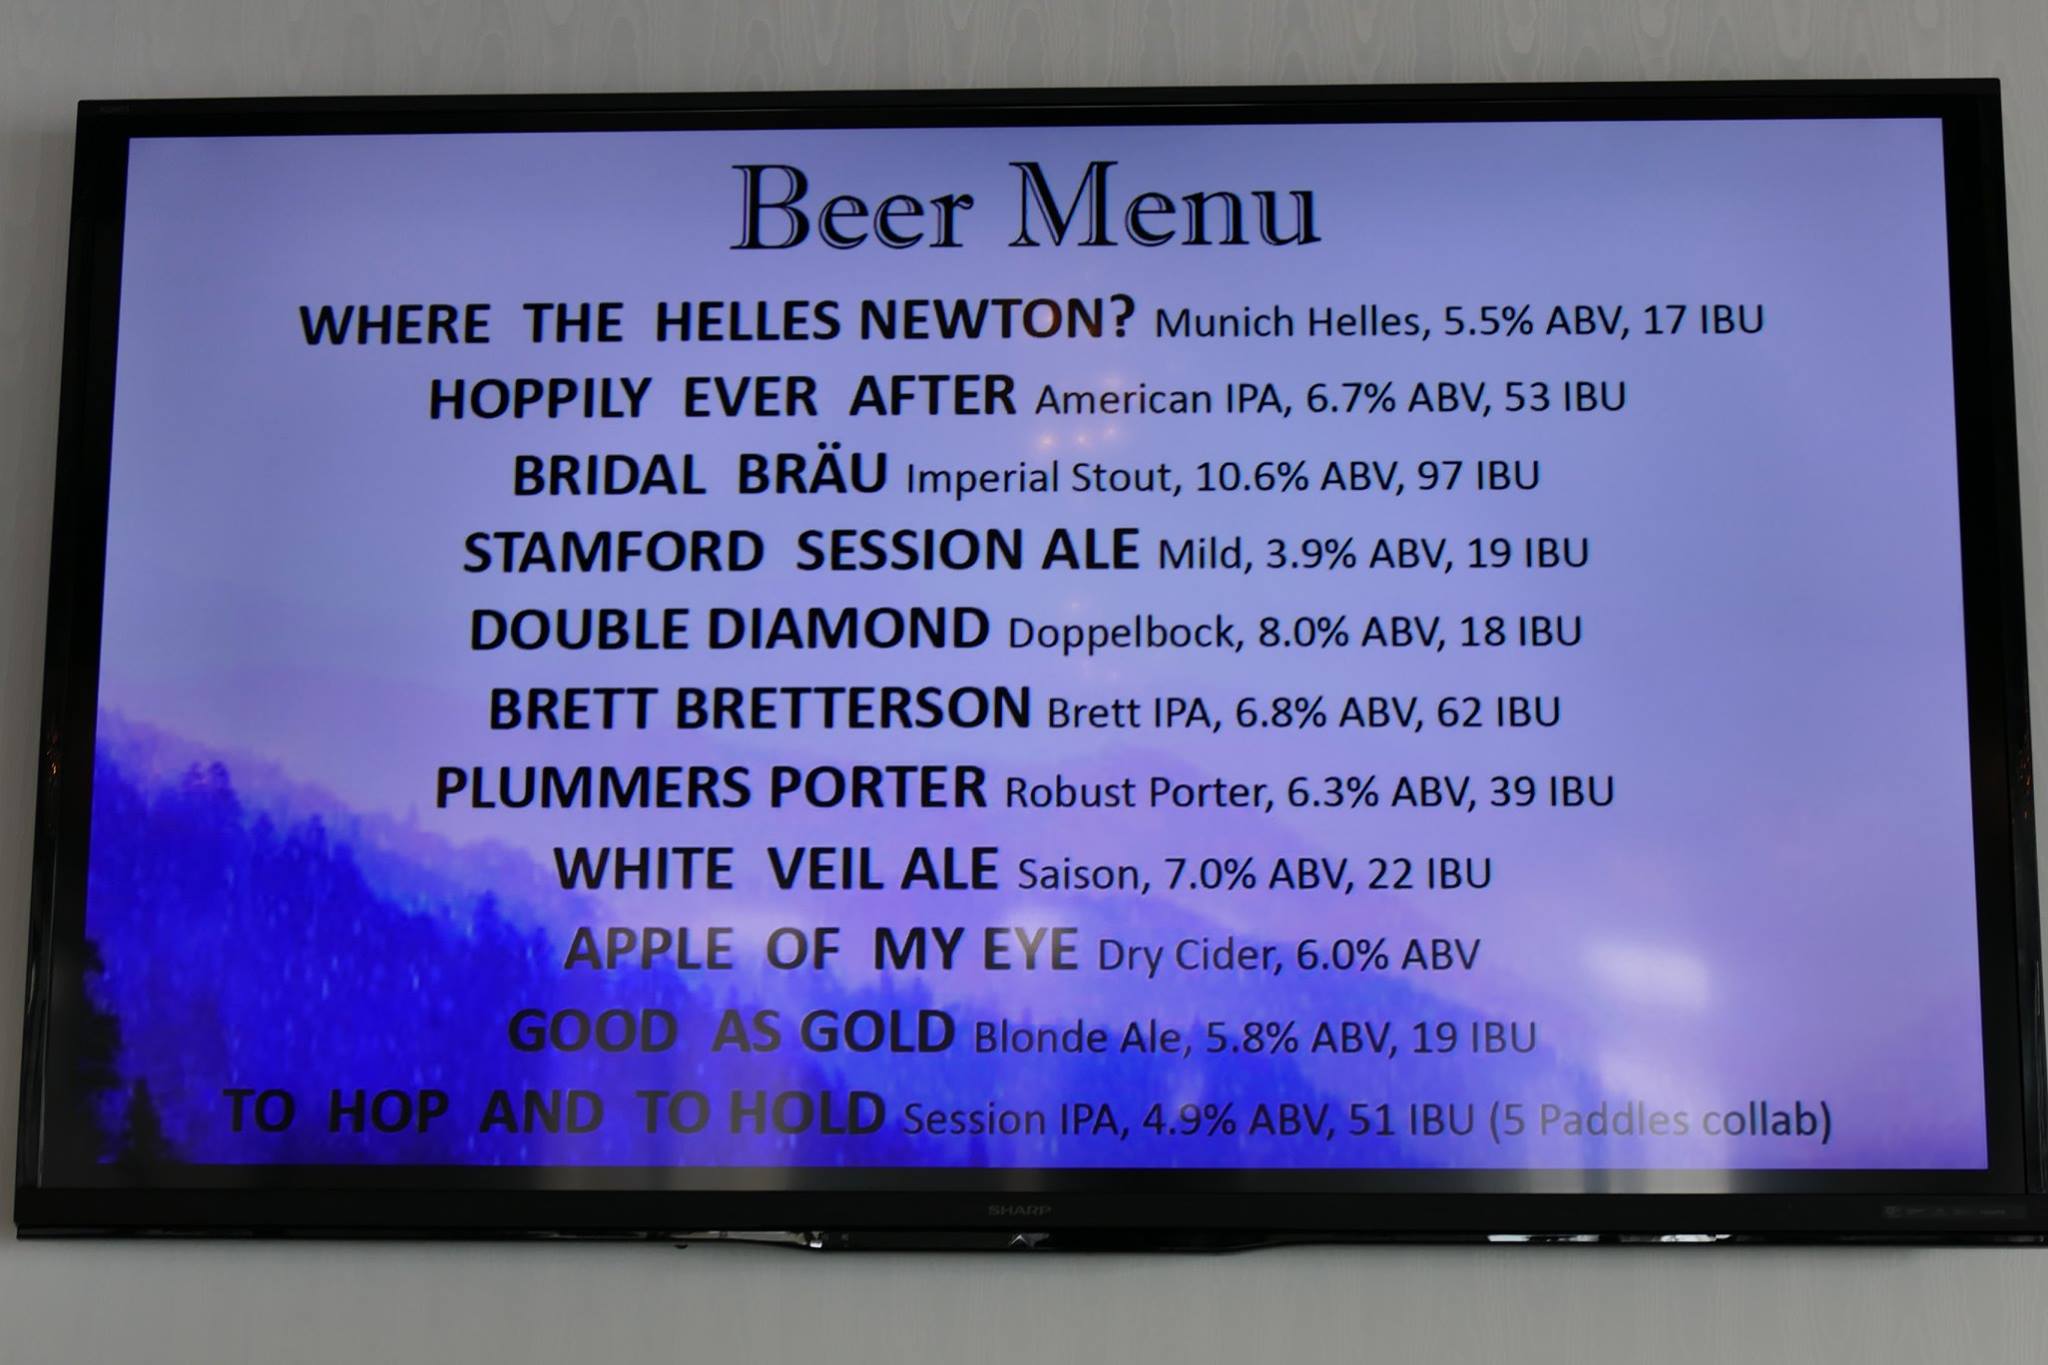
This beer menu was on this TV all night, it allowed people to know what was coming up other than the 4 beers currently on tap.
Deciding what kinds of beer to brew for an event like a wedding can be difficult. You can see my final list above for inspiration if you like. This can be a contentious issue depending on who you talk to. One opinion is to keep things simple and approachable because your crowd will likely be more diverse than than the average beer geek crowd. Another opinion, and one that I share, is to brew what you like to drink and just have a few options for people that don’t like to experiment with their beer drinking.
In my case, I went with a mix. I had a Helles and Blonde for those that wanted simple beer, I had a Cider for those that didn’t want beer, I had a Mild and Session IPA for people that didn’t want to drink too much, and the rest was stuff that I wanted to drink/brew. In addition to the beers above I had a Weizen, Best Bitter, APA, and another IPA, but they didn’t make the cut when pairing down from 15 to 11 kegs. Also, I only brought a 2.5 gallon keg of the Imperial Stout since it was so good I had to bottle off some to save for later. The keg of cider kicked the fastest, I probably could have had a 2nd one, or something similar. I saw many people (mostly non-beer drinkers) flock to the cider once they heard it was on tap.

Thanks for reading my guide slash recap! I certainly learned a lot going through the process and I’m glad I finally found the time to sit down and write this post. If you have any questions please leave them in the comments below and I’ll answer them the best I can!
P.S. Special shout out to 5 Paddles Brewing for volunteering to do a collaboration brew with me for the wedding. It was very much appreciated!

Great write-up and very ambitious. Sounds like you pulled it off well. My wedding is coming up in September and I’m taking a simpler approach. I’m brewing one batch of a saison/wine hybrid and bottling in 22oz bombers. Name and labels will be nuptially themed. They will be put in gift bags as essentially a goodie bag for the guests to take home at the end of the reception. Congrats.
LikeLike
Nice post hubby! It reminds me of how crazy it was to brew all the beer – but it was so worth it!!!
LikeLike
Nice post hubby! It reminds me of how crazy busy it was to brew all the wedding beer – but it was totally worth it!!!
LikeLike
I wished I homebrewed when I got married 7 years ago and were able to pull this off. Very impressive I must say, but it almost seems like the brewing (planning, executing, make room for everything, permits, and so forth) would have consumed more time than the actual wedding planning. In the end, you certainly created something very unique for your wedding and if you’re not sick of brewing now, you’ll probably not put this hobby on ice any time soon. This success probably just added fuel to your brewing fire….
Congrats and…well… Skål!
LikeLike
Really great post, congrats on the successful wedding! I don’t think I could have pulled of this much brewing and worrying about getting enough batches ready at once.
Do you have a link for the chiller used in your jockey box?
Cheers!
LikeLike
Hi Kevin, thanks for reading my blog!
I got it from chicompany.net for $165 USD back in early September, and I can no longer find the product on their site. However if you search for “7 circuit cold plate” you will find the same product for similar price from a lot of companies.
Here for example: http://midwestbev.com/coldplates.aspx
Based on the pricing on that site I suspect mine is either a 8×12 or 8×14 plate.
LikeLike
Tres bien fait eric. Very proud of your achievement, G-Pa.
LikeLike
Awesome write up! I’m getting married in approx 6 weeks and am brewing all the beer for our guests. All 450 bottles! 9 fermenters are currently bubbling and will be put into bottle in a week or so. I hope they turn out!!! Thanks for the insight into your home brew wedding experience!!
LikeLike
Thanks for reading!
I promise I’ll get back to the blog at some point. We’re ramping up our club activities in Toronto so that is taking all my blogging time away!
LikeLike