Before I start posting about recipes and brew days I thought it would be a good idea to start with a post about my setup and an explanation of how I do things at a high level. In the interest of making this post digestible I am going to skip over some of the details and explain them as I go.
First thing’s first, here is my brewery (image below). My favourite thing about it is that I can leave it set up, which saves considerable time on brew day. The heart of my brewery is a 10 gallon stainless kettle (Bayou Classic 1040) and a 10 gallon Igloo cooler with false bottom. My setup is very similar to most people’s turkey fryer and cooler setup, I batch sparge in a cooler, and boil in a 10 gallon kettle. The kettle is heated by a 3500W induction cooktop (Avantco 3500) which is plugged into a 40 A stove outlet (via a custom adapter cord). I have a vent hood to allow steam to escape during the boil, powered by a Vortex VTX600 fan capable of 452 CFM. There is also a stainless sink (from kijiji) and pre rinse faucet to wash up, and few other things I’ll get around to explaining over time.
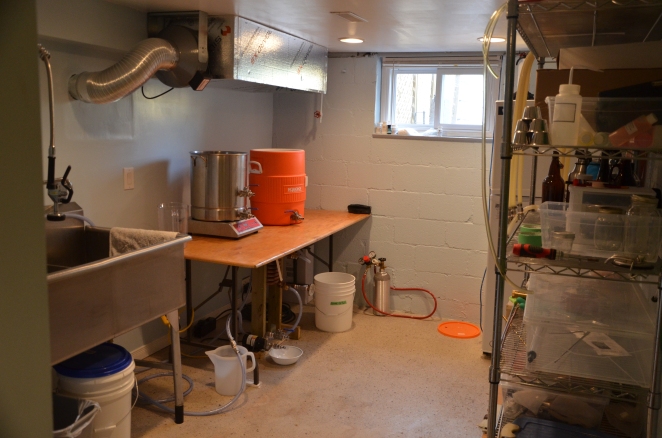
A glimpse into the brewery.
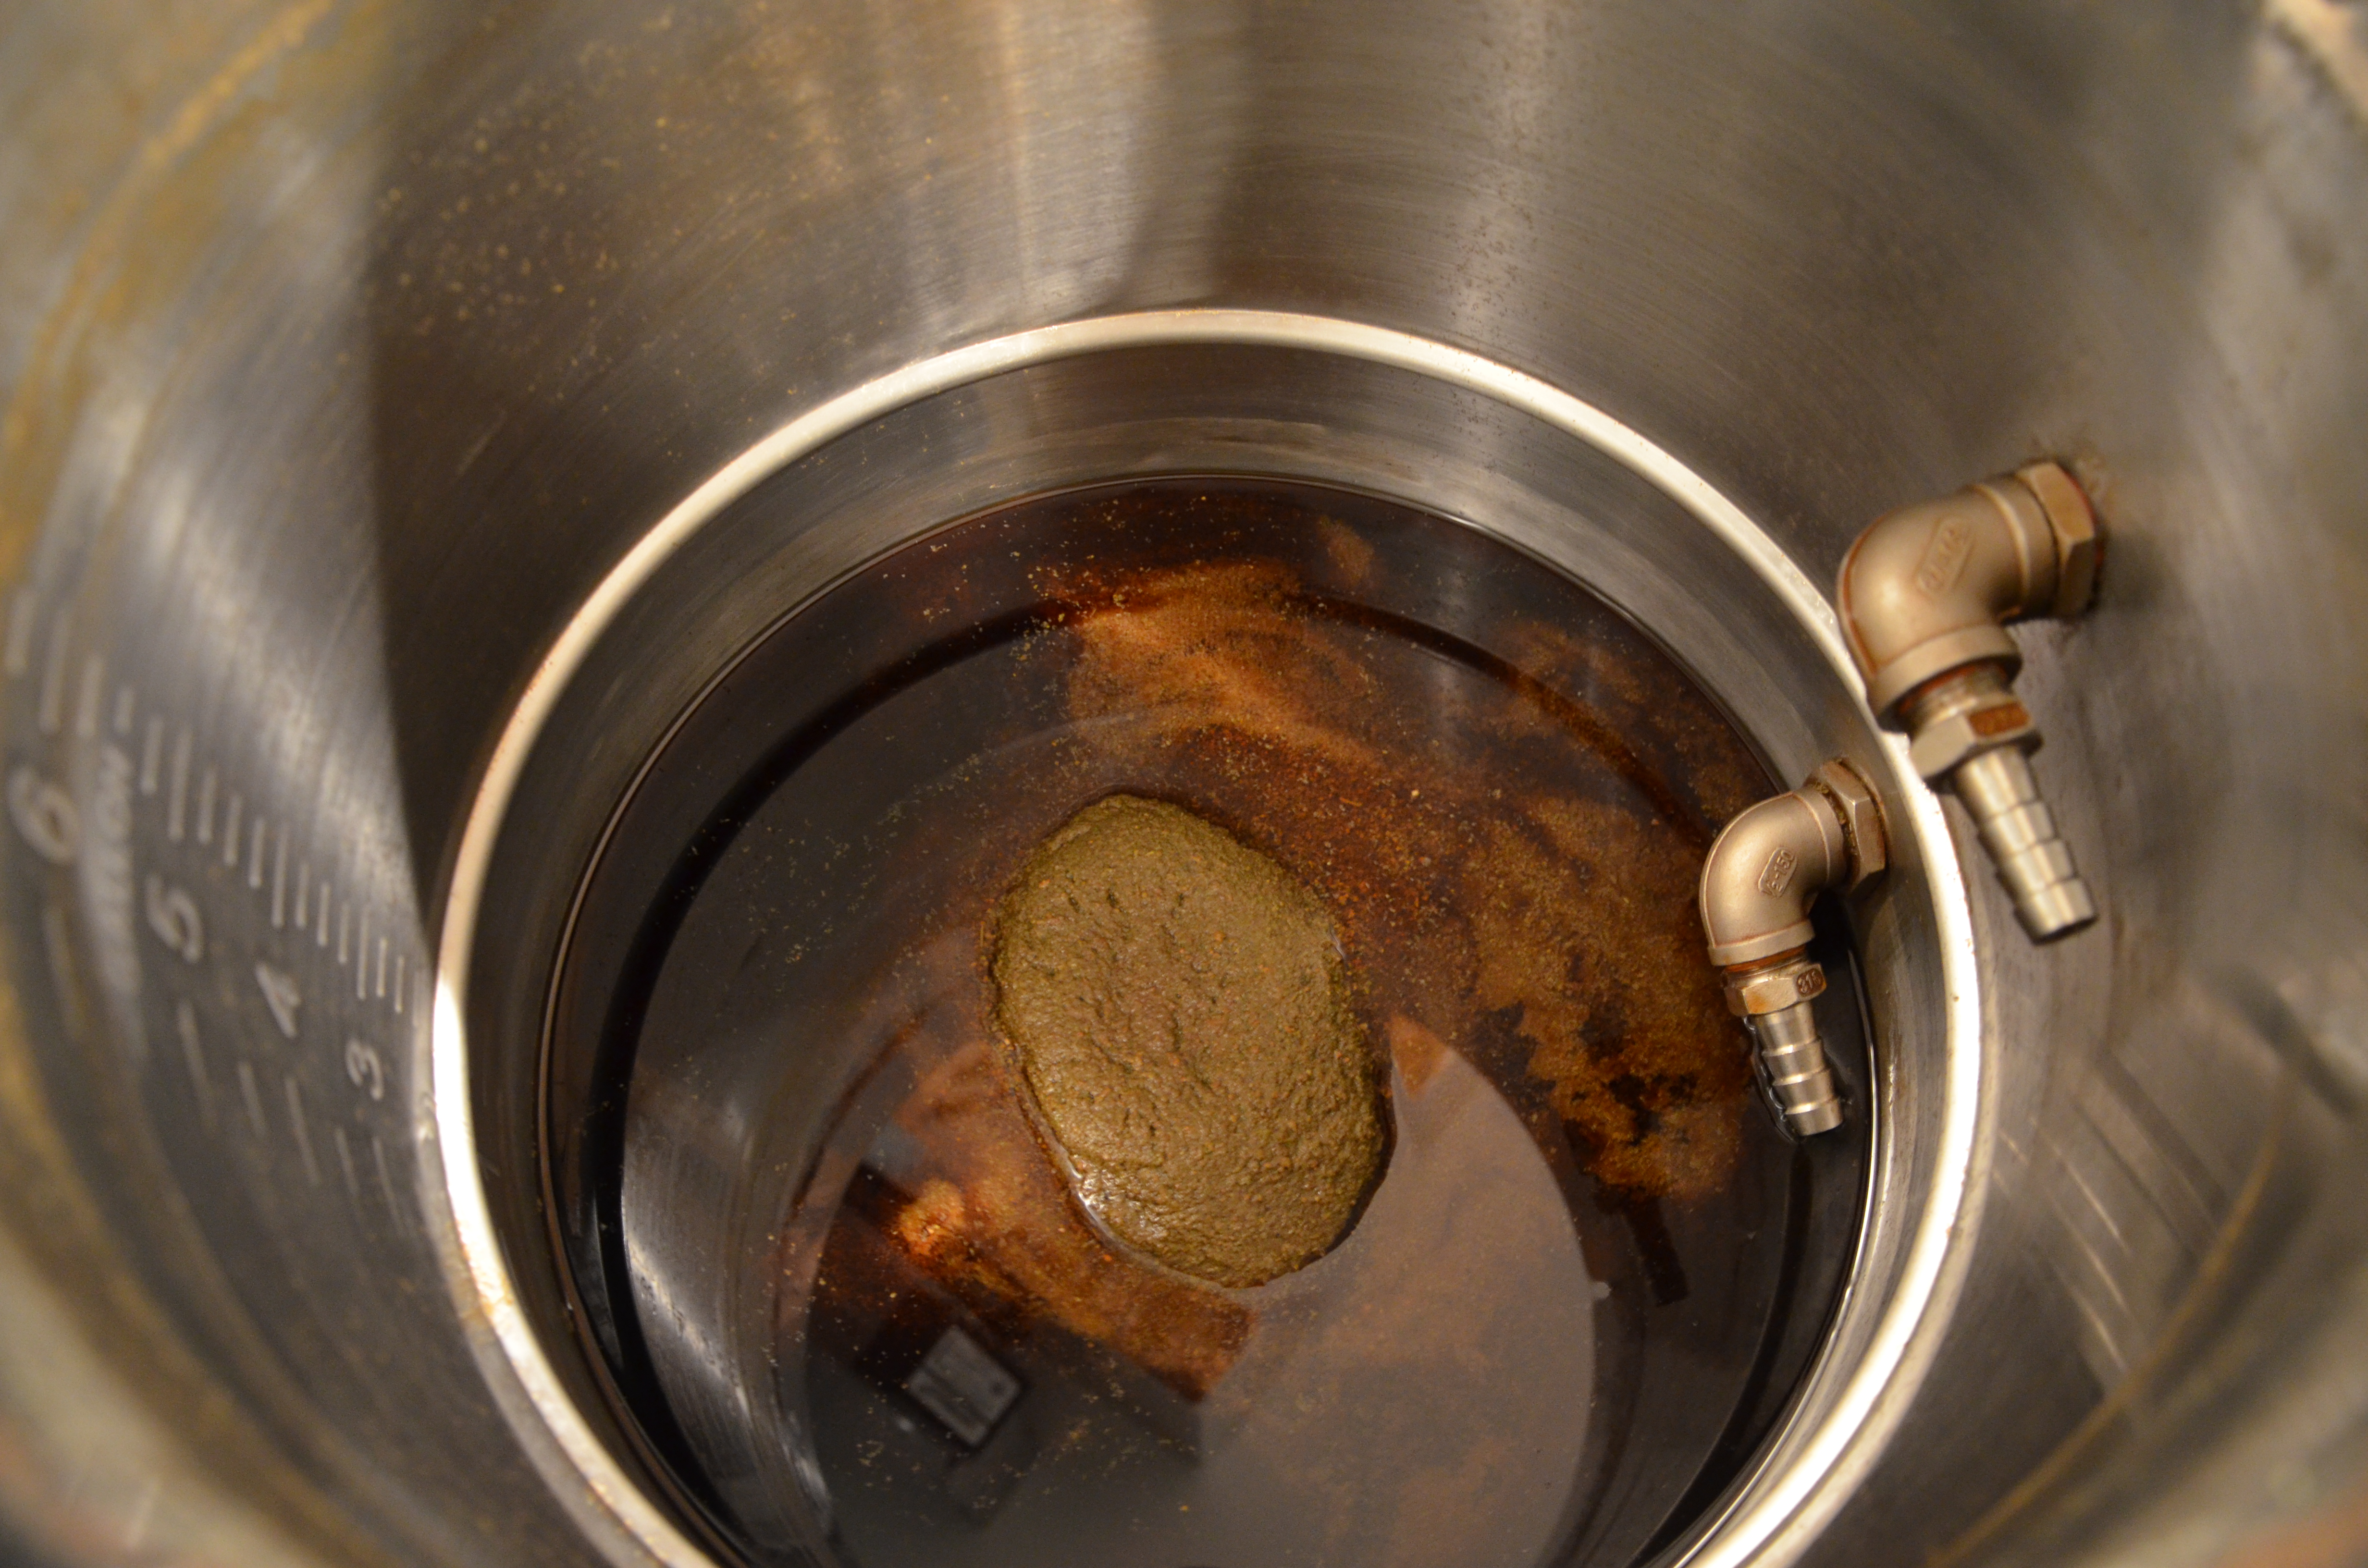
Under the brew table you can see my pump and chiller setup. My kettle has two valves so that I can whirlpool while chilling. When chilling a non-hoppy beer, I hook up my hoses, knockout at the 0 min mark, then kick on the pump to recirculate boiling wort through the chiller. When the output of the chiller reads above 180*F I turn on the chilling water and recirculate until the output of the chiller matches my pitching temp. Though I usually need to chill further in my fermentation chamber for lagers.
![DSC_2430[1]](https://ericbrews.com/wp-content/uploads/2014/11/dsc_24301.jpg?w=662&h=438)
A closer look at the brew stand.
I am a big believer in precise fermentation control so I have dedicated two mini fridges to the cause. Each batch is independently controlled and can be heated and cooled. I usually pitch lower than fermentation temperature, hold at target temperature, then ramp up towards the low 70’s. As you can see they comfortably fit 6 gallon carboys, these are the 4.5 cu ft Danby models.
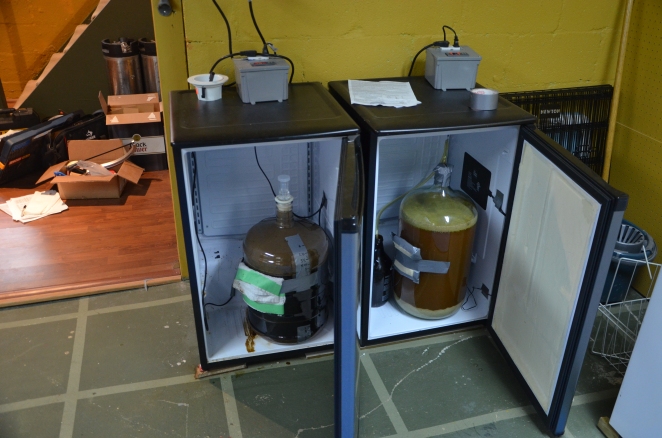
My two fermentation chambers. Imperial Stout on the left and Brett IPA on the right.
My fridge and shelf don’t need much explanation. My fridge holds harvested yeast and beer, and the freezer compartment holds vacuum sealed hops. I always make my starters larger than needed so that I can save some for the next batch. This way I can avoid mixing my harvested yeast with hop solids and excess protein. The brew shelf holds pretty much everything I haven’t found a nice spot for in my brewery. Empty fermentors are stored on the first two shelves, I use Better Bottles as much as I can. Empty growlers and swing tops, oxygen wand/tank, keg parts, pH meter and calibration solutions, it’s all on there.
![DSC_2428[1]](https://ericbrews.com/wp-content/uploads/2014/11/dsc_24281.jpg?w=662&h=438)
Brew shelf and brew fridge. The shelf could be better organized but it does the job.

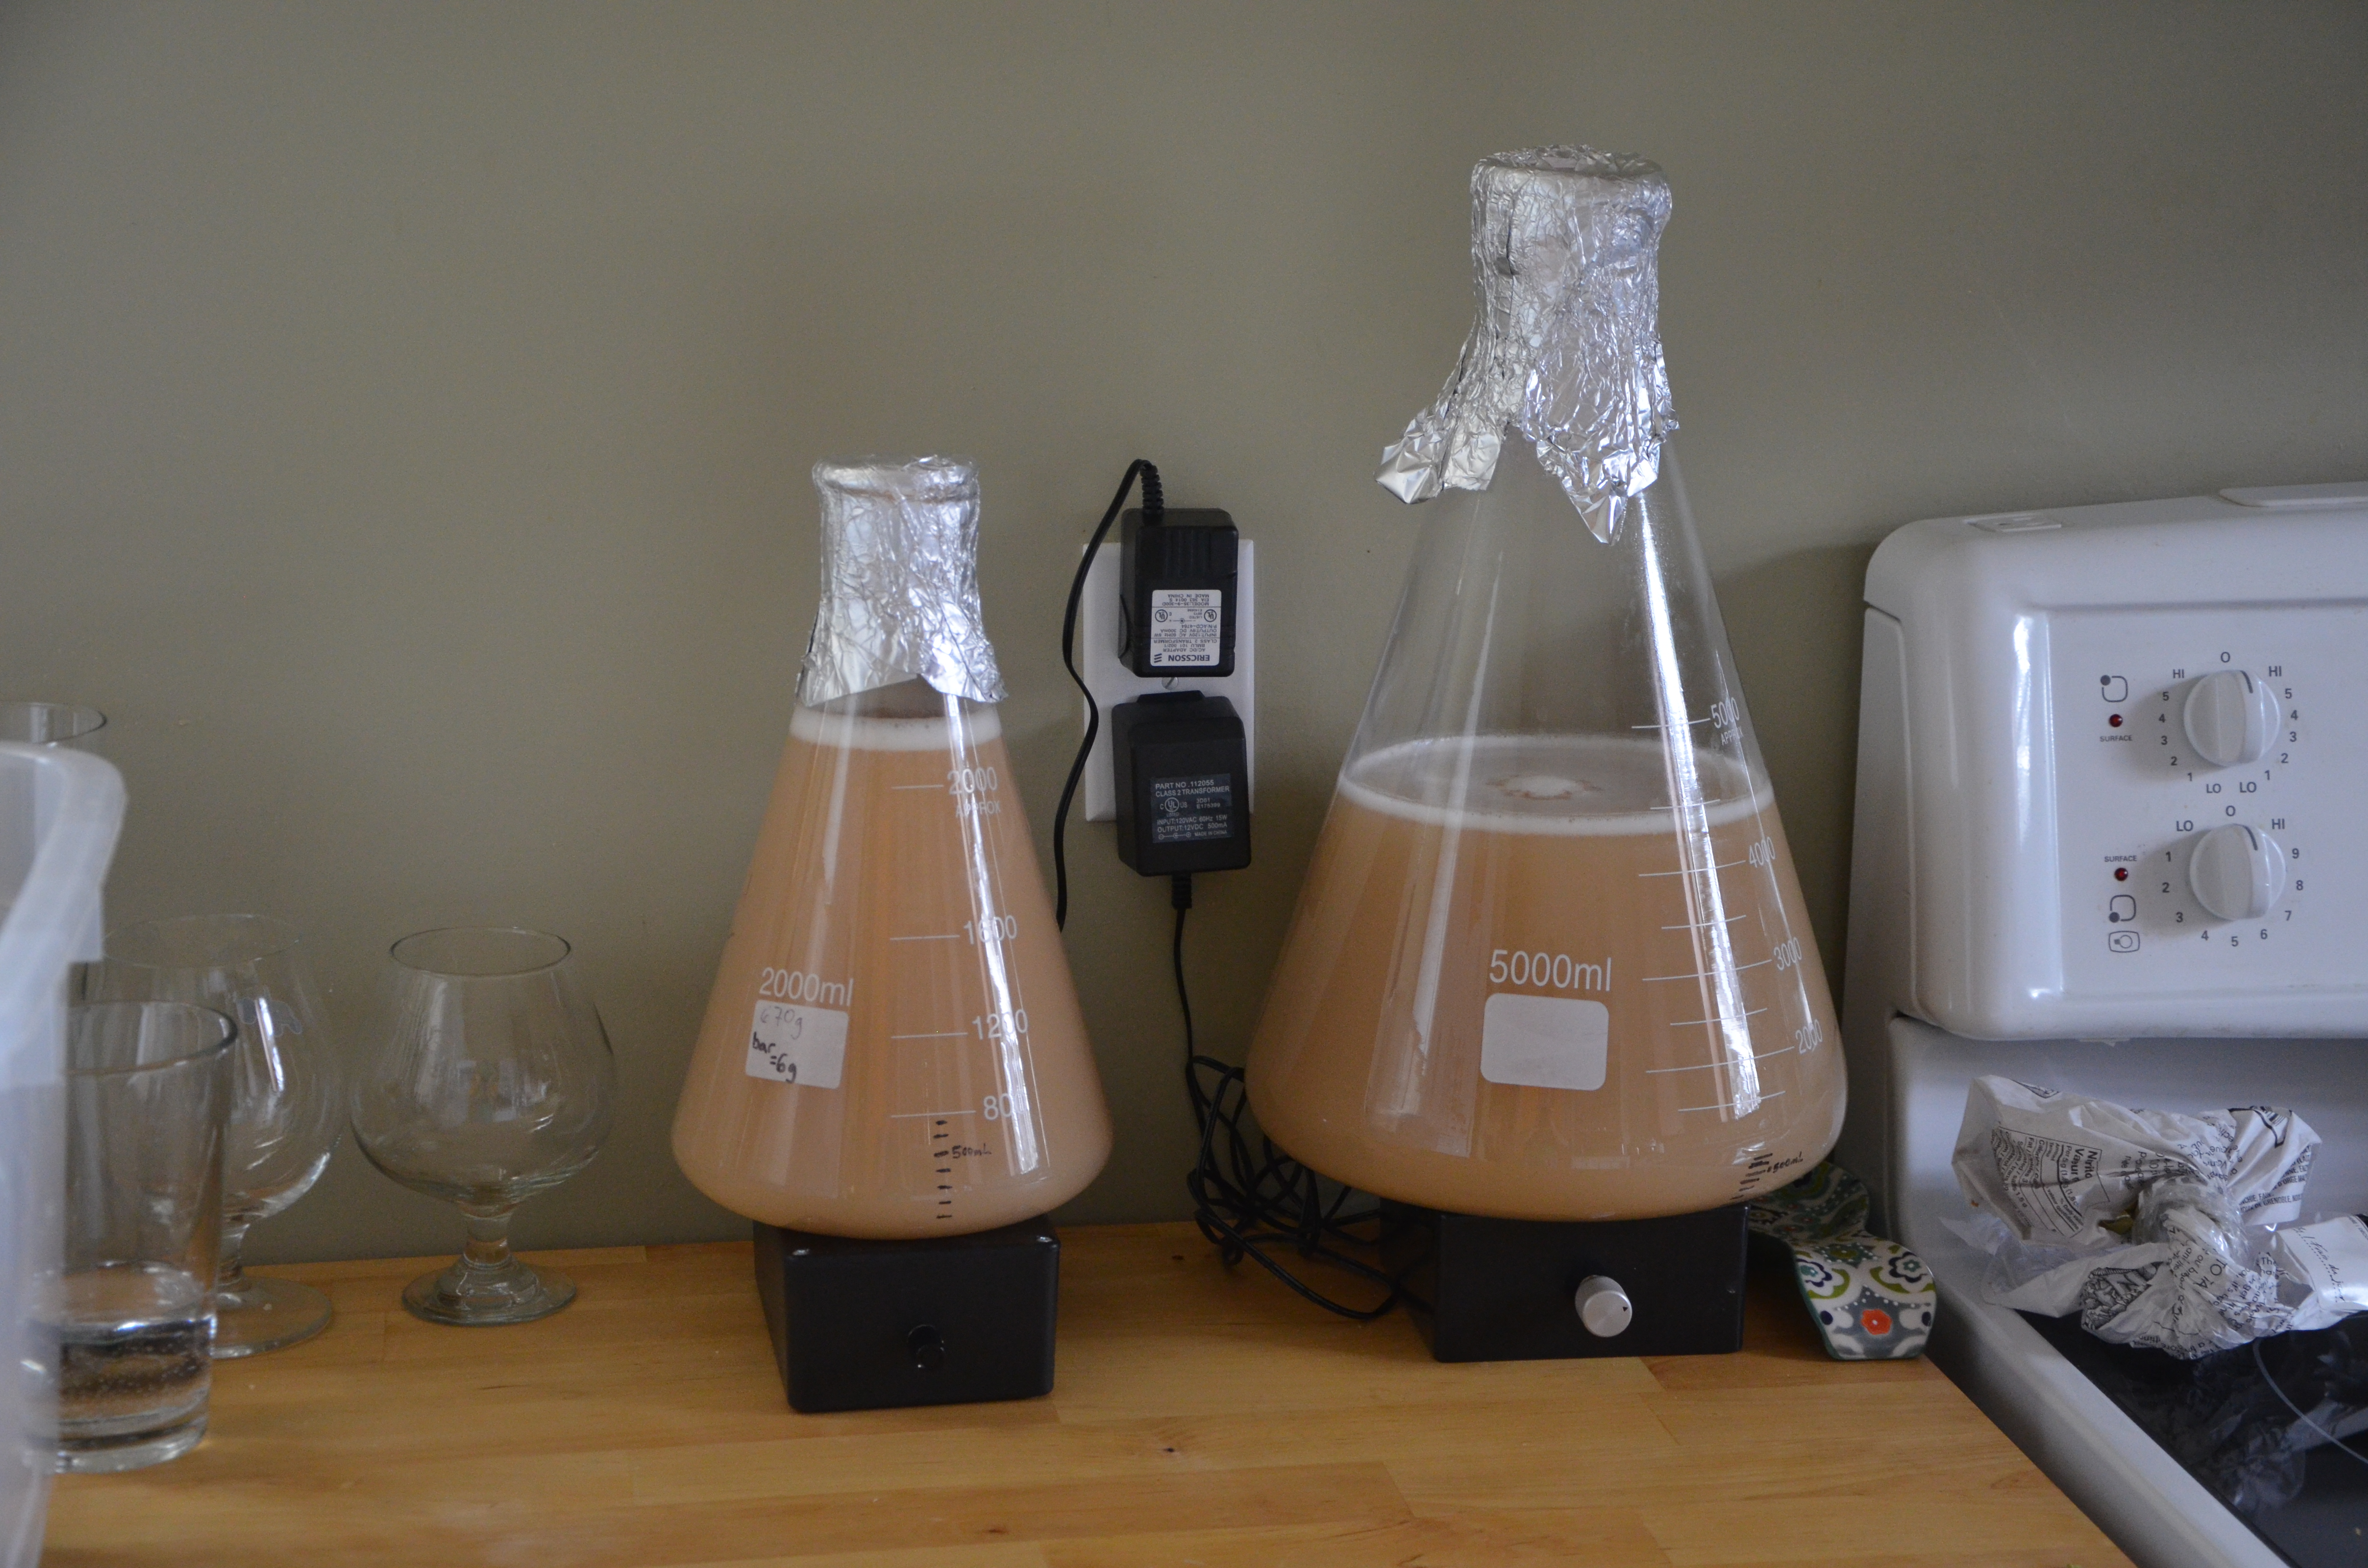
Two starters going. A 2L on the left of WLP090 for a Robust Porter, a 4.5L of WLP833 on the right for a Doppelbock.
I store and mill my grain at the opposite end of the basement, in the cold room. I buy full sacks of grain through bulk buys run by a regional homebrew club. Keeps the costs down per batch, and allows me to have lots of grain options for when the inspiration strikes. Once a sack is opened I pour it into a pair of buckets. I like to think this is better than storing an open sack since there is a better seal, plus they stack nicely to reduce the footprint. My mill is a Monster MM3-2.0, recently acquired, but I am definitely loving it so far. I usually store my extra full sacks in the grey rubbermaid but I have an extra few sacks right now since the fall bulk buy just happened last weekend. Not pictured is a 75 lb capacity blade scale that I use to measure out grain bills, and a 1/2″ drive corded drill to run the mill. Also, my empties box is overflowing, I should probably work on returning those to the much hated recycling center, aka The Beer Store.
![DSC_2424[1]](https://ericbrews.com/wp-content/uploads/2014/11/dsc_24241.jpg?w=662&h=438)
Mill and grain storage in the cold room.
In the room next to the brewery I have my keezer and bottling station. I store my empty kegs next to the keezer, and also my carboys being used for long term aging (current a sour stout and a cider). The keezer itself can fit approximately 11 corny kegs, though I haven’t tried yet. It has a 4 output secondary regulator so I can set unique serving pressures for each keg. I use the mirror behind the keezer as the tap list, writing the beer menu on it using window marker. The bottling station is currently just a wobbly shelf that hold my vinator, beer gun, and other bottling accessories.
![DSC_2431[1]](https://ericbrews.com/wp-content/uploads/2014/11/dsc_24311.jpg?w=662&h=438)
Keezer and bottling station in the room adjacent to the brewery.
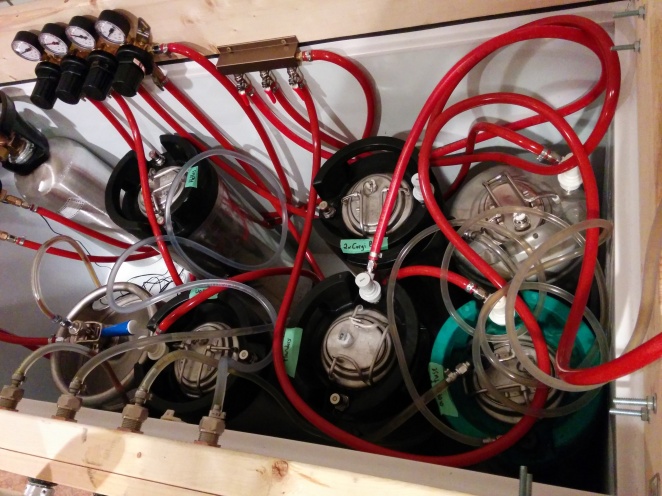
Inside the keezer.
Thanks for reading, if you have any questions about my setup please don’t hesitate to ask them in the comments below! I’ll be sure to elaborate on the more important parts in future posts about brew days.
![DSC_2663[1]](https://ericbrews.com/wp-content/uploads/2015/01/dsc_26631.jpg)


![DSC_2430[1]](https://ericbrews.com/wp-content/uploads/2014/11/dsc_24301.jpg)

![DSC_2428[1]](https://ericbrews.com/wp-content/uploads/2014/11/dsc_24281.jpg)
![DSC_2424[1]](https://ericbrews.com/wp-content/uploads/2014/11/dsc_24241.jpg)
![DSC_2431[1]](https://ericbrews.com/wp-content/uploads/2014/11/dsc_24311.jpg)


![IMG_20141102_222412[1]](https://ericbrews.com/wp-content/uploads/2014/11/img_20141102_2224121.jpg)
